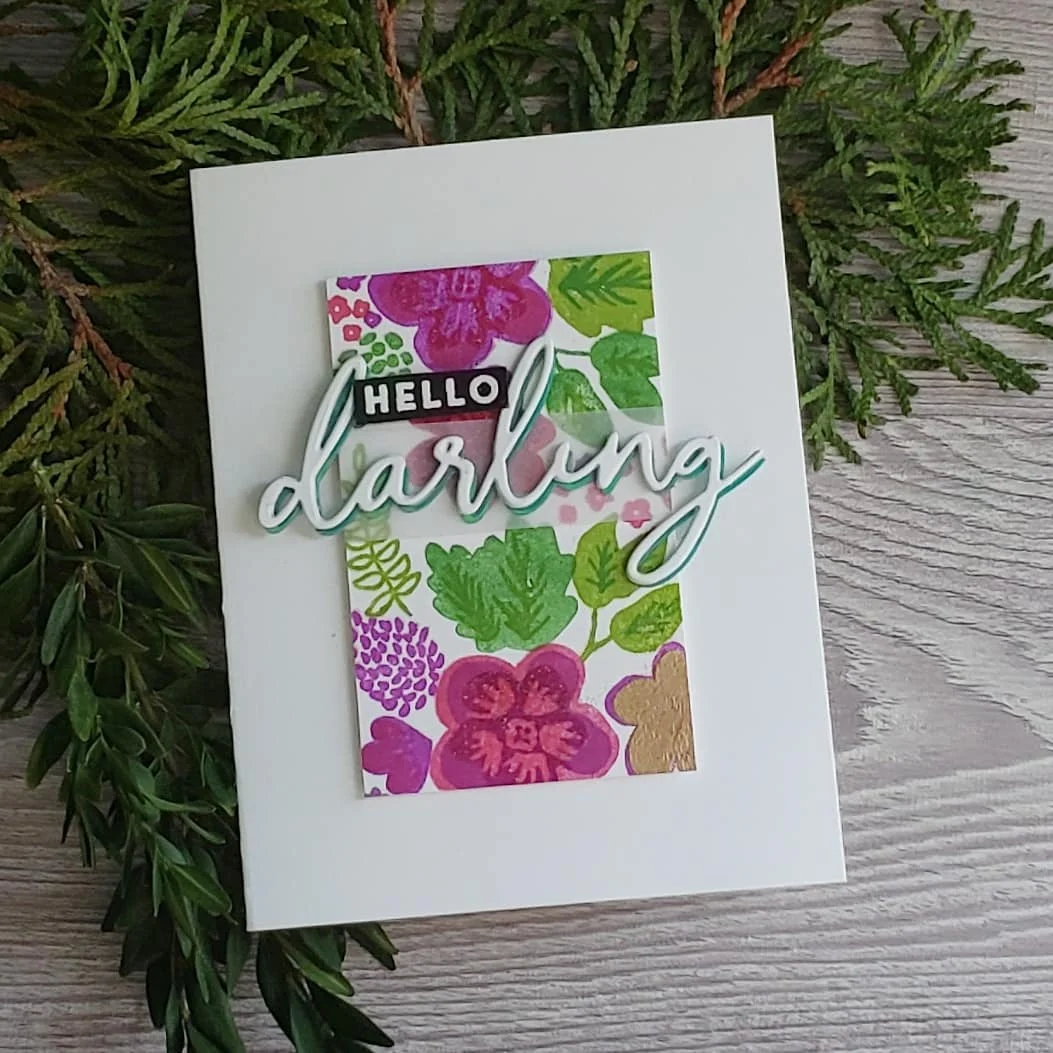
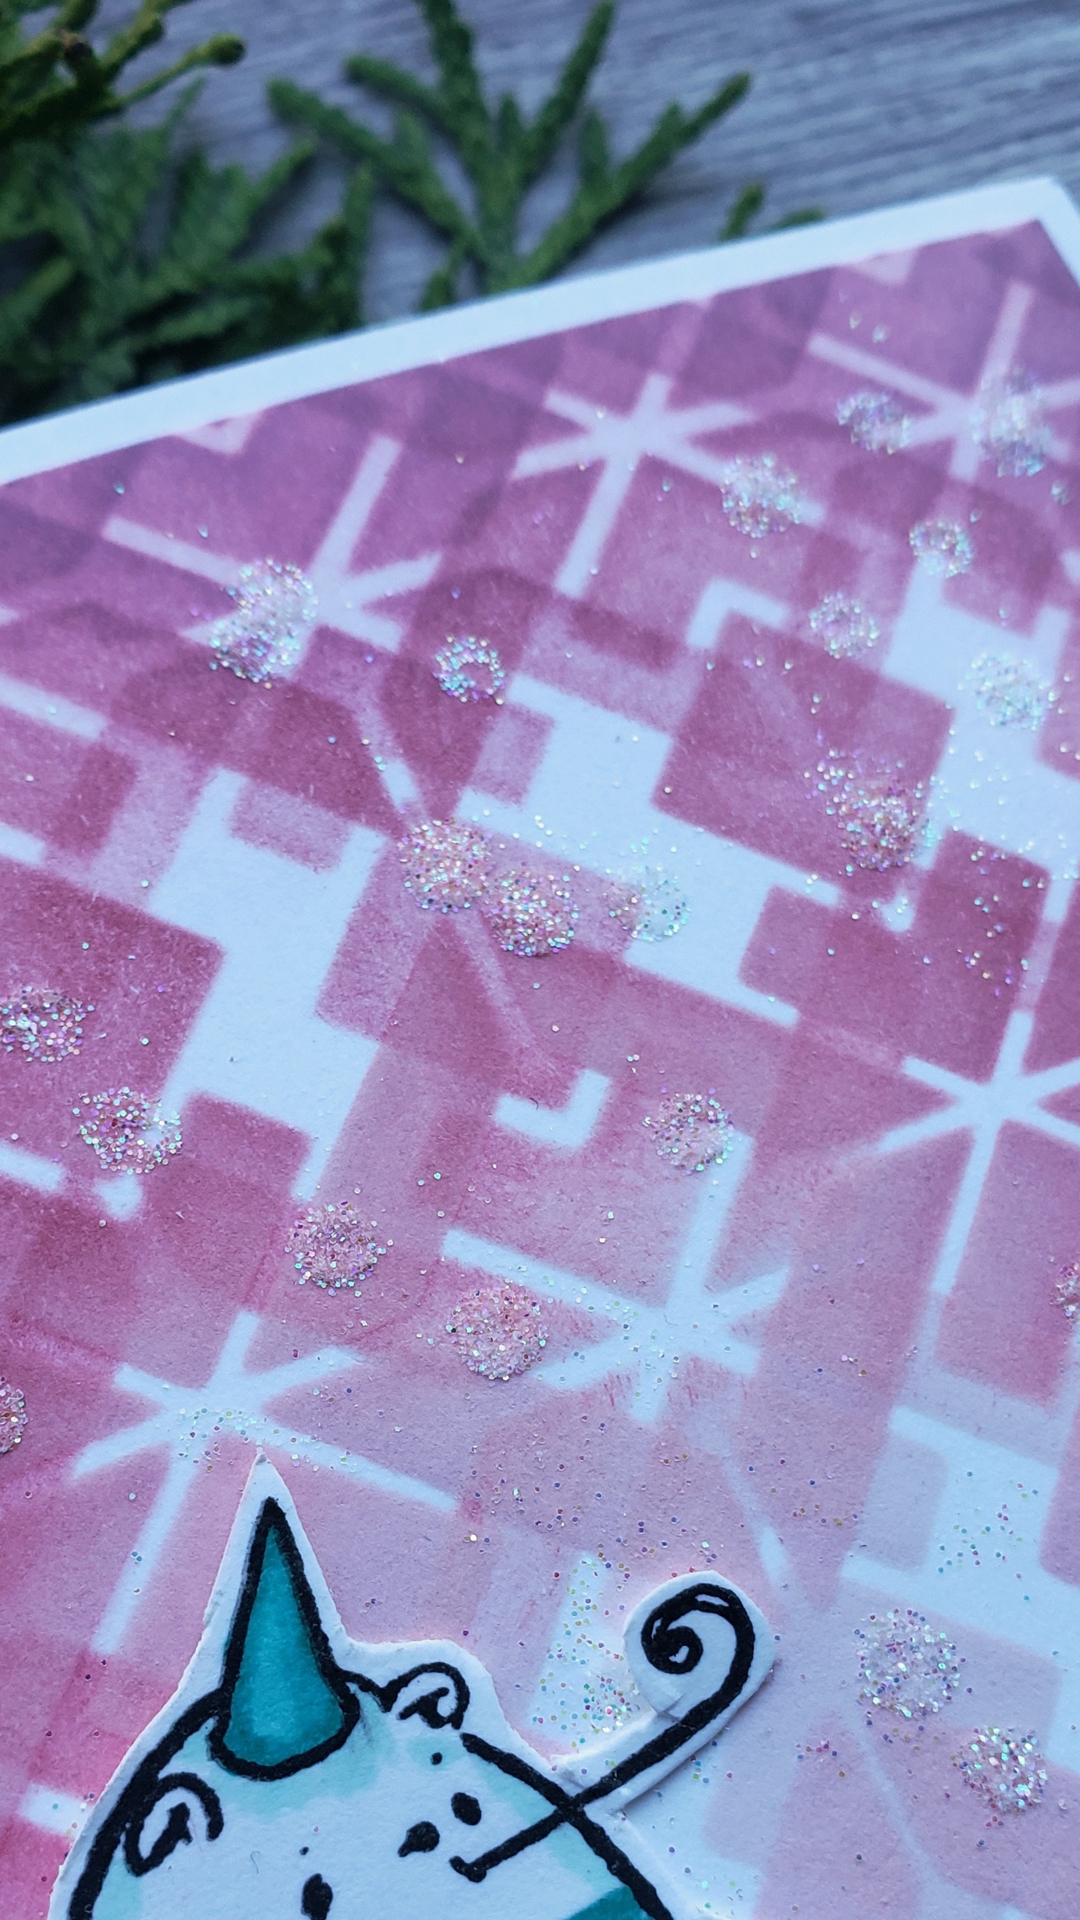
Hi there!! Did you know you can foil a toner sheet you printed yourself? Saturday morning I woke up at 4:30AM to play in my crafting workspace and decided to create a shiny gold background for the Charleston Stamp Set from Colorado Craft Company’s Lovely Legs line.
I have made the image downloadable in my shop. (Please navigate there by clicking shop in the menu of this page. I’d give you the link, but I’d like you to try out my new shop link in the menu dillybob [I'm stickler for techie language]. Let me know how easy it was for you to navigate the checkout process. You can skip the billing information area by leaving it blank and clicking continue. Please use code: IAMARTIE to take 100% off the price.)
In order to make the image foilable with DecoArt foils, you will need to print it with a laser printer—an inkjet printer will not work for this. You may take the image to an office supply store to have them print it. Make sure you print in black and at your highest quality setting.
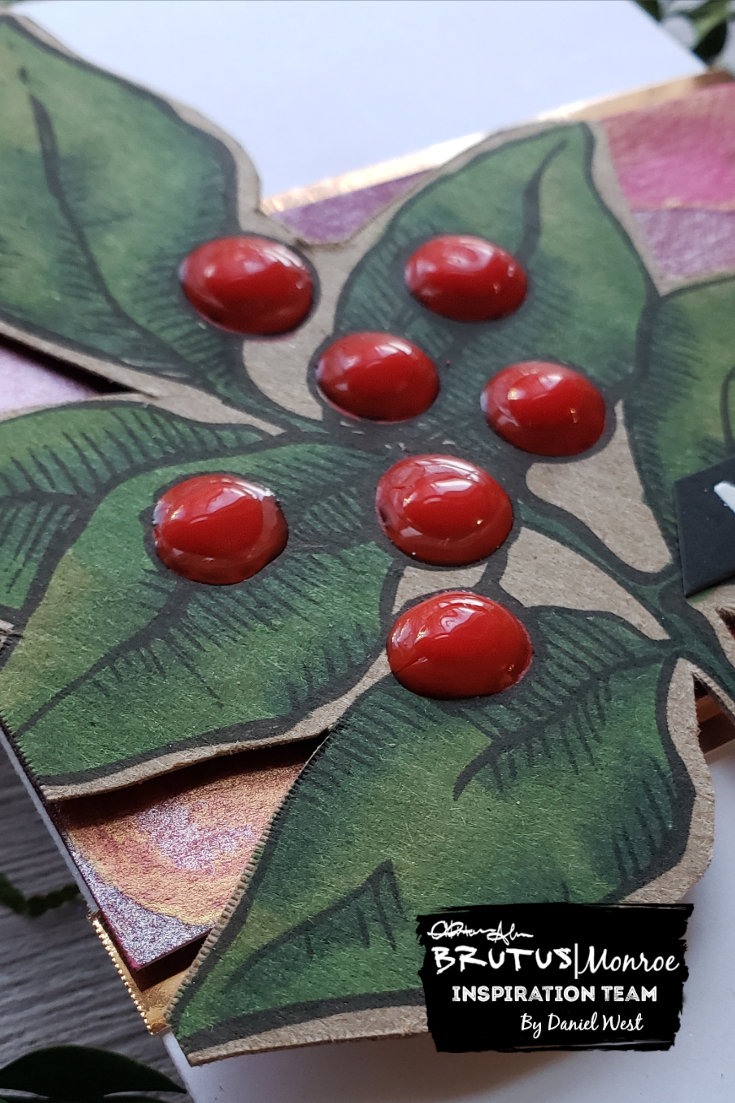
Place your a foil transfer sheet from DecoFoil over the printed image and cover both sides of your project with parchment paper. Run it through a hot laminator. Peel off the foil from the image and you have a beautifully foiled Art Deco background to use with your Charleston Lovely Legs Stamp.
I hope you enjoyed this little tip and freebie. If you would like to purchase the Charleston Lovely Legs Stamp Set, I have included affiliate links below. When you use these links, I will receive a portion of your total purchase at no additional cost to you!