Hey there Arties!! I’m happy you have stopped by for the release day blog hop and video for the Hero Arts My Monthly Hero October 2022!
Winter has come, direct from the North Pole! The October My Monthly Kit features a darling 6” x 8” stamp set with everything you need to build a magical scene, right down to Santa's sleigh. The coordinating dies cut out everything in the stamp set, including the messages. There's a cling background stamp for adding falling snow, and we've included two types of white ink to allow you to experiment with different techniques! The kit is rounded out with some gorgeous papers.
Kit Shipping
Pre-order your kit today - we estimate kit shipping will begin Friday, September 30th and continue throughout the following week.
Thank you for using my affiliate links to shop. If you receive any value out of my posts, you can support my artistic efforts by using these links at no additional cost to you.

Click the image to grab the kit now!
Kit Contents:
• Clear Stamp Set, 6" x 8"
• 19 Coordinating Frame Cuts
• Snow Dots Cling Stamp, 4.625" x 5.875"
• 2 Ink Cubes (White Reactive & Unicorn Pigment)
• 2 Sheets of Diamond Glitter Paper, 5.5" x 8.5"
• 2 Sheets of Snow Glow Cardstock, 5.5" x 8.5"
• 2 Sheets of Lapis Cardstock, 5.5" x 8.5"
Kit Value: $70
Kit Cost: $34.99

GIVEAWAY:
We will give away a $50 gift card, drawn from the comments left across the hop. Enter by Sunday, October 9th at 11:59pm Pacific, and the winner will be announced on the Hero Arts blog the following week.

NOTE: This card uses only stamps and dies from the main kit except for the infinity dies.
Project #1 — Thank you
Supplies:

Steps to Create this Card
Cut a sheet of Lapis Cardstock in half and prep it with antistatic powder.
Stamp the background stamp from the kit over the Lapis cardstock with Clear Ink and melt White Detail Embossing Powder over it with a heat tool
White off the antistatic powder and trim the cardstock down to A2-size.
Add a vignette of ink over the Lapis panel using a blending brush and Nautical Ink. Darken the outside of the vignette with Pitch Black Ink.
Stamp the Santa and reindeer image out in Nautical Ink and die cut it with its coordinating die.
Stamp the village scene out on an A2-sized panel of Dove White Cardstock with Nautical Ink and partial die cut it to leave the panel whole under the viilage.
Stamp the sentiment with Intens-ified Black Ink under the village.
Pop up the sleigh and village with foam tape over the Lapis panel.
Adhere it all to the front of an A2-sized card base.
Finish it off with some White Liquid Pearls.


Steps for Creating this Card
Prep a panel of Pine Cardstock with antistatic powder and stamp the Nutcracker Bold Prints over it with Clear Ink.
Melt Gold Embossing Powder over it with a heat tool and wipe off the antistatic powder with a clean cloth.
Trim the Pine Panel down a 1/4” on top and one side.
Adhere this panel to the front of an A2-sized card base with Precision Glue.
Create sentiment strips in the same way, but use Pitch Black Cardstock, the Holiday Sentiments Stamp and the Sentiment Strips Fancy Die.
Choose three sentiments, trim them down a bit and pop them up on the front of the card with foam tape.
Add-Ons — Get Them All and save some cash!

Bonus Projects… Just for lookin’ at! Can you guess how I made them? Leave a comment below.


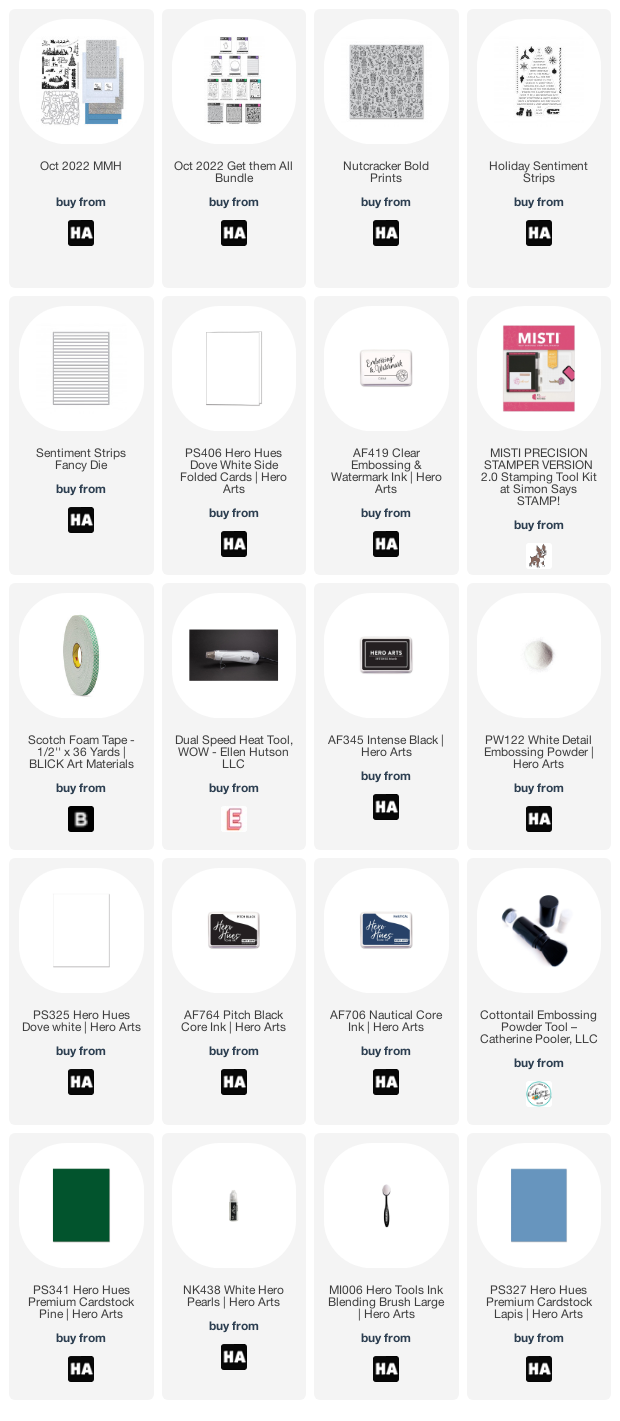
I hope you have enjoyed this release and these projects. If you have been inspired to shop for these supplies, please consider using the affiliate links in the grid below. I will receive a small portion of the sale at no additional cost to you.
Thank you for joining me today and I hope you’ll enter the giveaway and continue on the hop with the list below.