Hey Artie! Spring comes along this month, here in Rhode Island, as well as in east Asia. Soon we will see cherry blossoms everywhere. So it seems fitting to see the tree in this kit dressed in shades of pink throughout the hop this month. This kit celebrates the zen garden and east Asian landscapes with a new HeroScape stamp set and accompanying dies. You will see lots of other east Asian themed items like a dragon woodblock stamp, a koi pond cling stamp and even sushi!

Kit Contents:
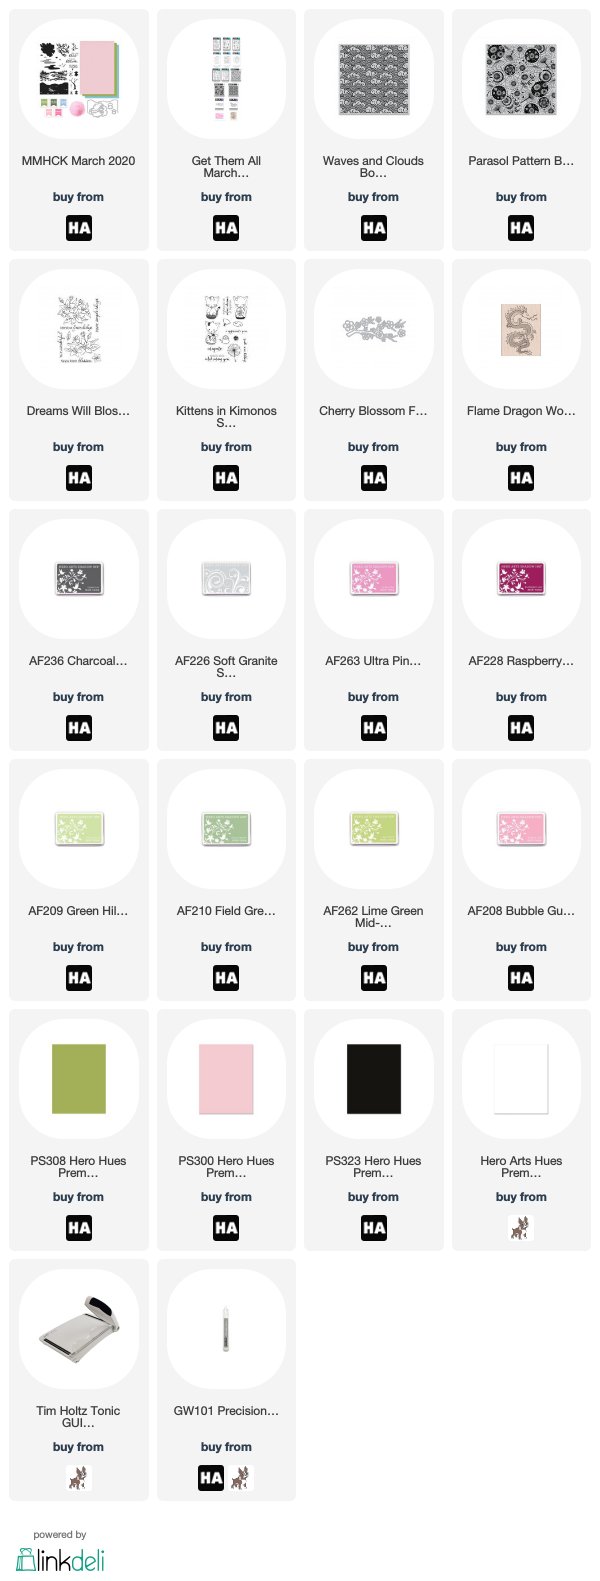
• 6" x 8" Clear Stamp Set
• 5 Coordinating Frame Cuts
• 5 Ink Cubes (Green Hills, Field Greens, Dusty Blue, Rose Madder, Cotton Candy)
• 6 5.5"x 8.5" Sheets of Cardstock (2 each of Peony, Kiwi and Mist)
• Pink Puff Embossing Powder 0.5 oz
.Kit Value: $70
Kit Cost: $34.99
GIVEAWAY: Hero Arts will give away one $50 gift card, drawn from the comments left across the hop. Enter by Sunday, March 8th at 11:59pm pacific, and the winner will be announced on the Hero Arts blog the following week.

Main Kit-Only Cards
Card #1 Cherry Tree
For my first card, I created a traditional landscape with the layering set in the main kit. I used two shades of green, two shades of pink and two shades of blue for each. I die cut the tree and the landscape with the accompanying dies and stacked them onto a card base. Next, I added a few stones from the kit with gray inks and petals falling from the tree using 1st and 2nd generation stamping. I finished the card with a sentiment in a dark gray ink at the bottom of the card base.

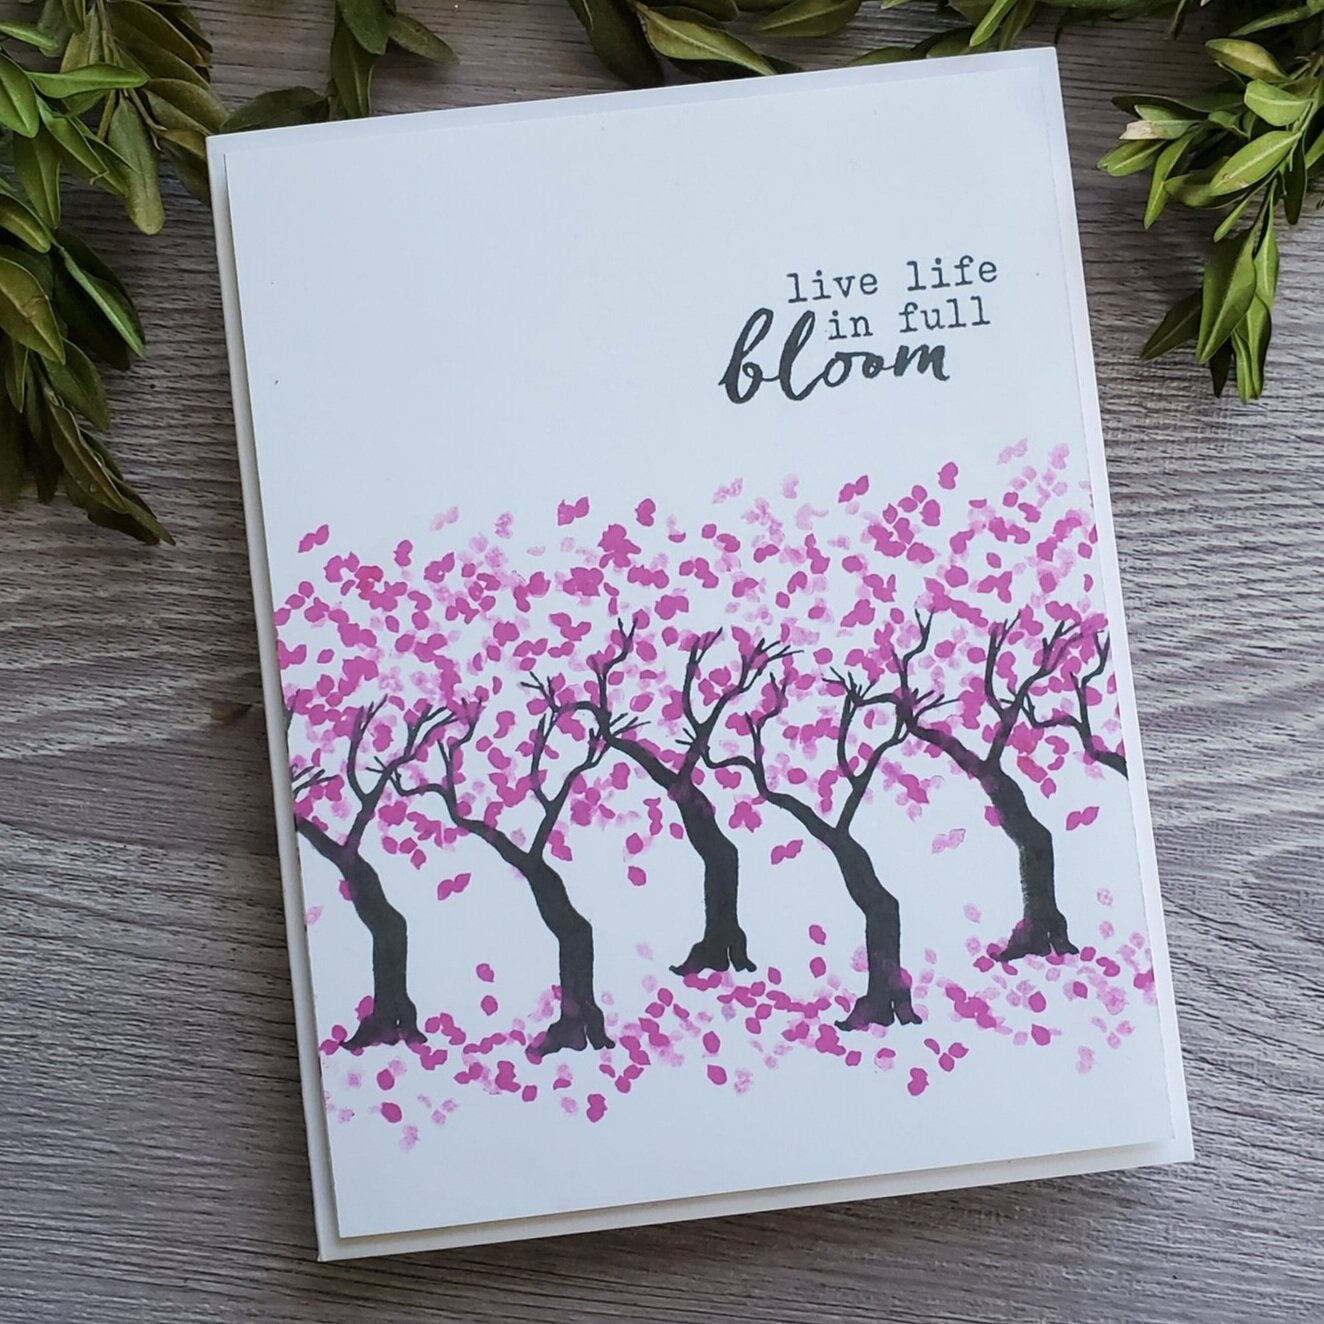
Card #2 National Mall in April
For my second card, I used repeated stamping using only two of the images from the kit — the tree and the petals. I stamped them using dark gray ink and 1st and 2nd generation pink. This card was so simple to create, and reminds me of the cherry trees along the national mall in Washington, DC. To finish it off, I trimmed down the panel to 4 x 5.25 inches and popped it up on the front of the card base with fun foam.
Card #3 Paper Mountains Majesty
Next, I created a greyscale landscape with mountains in the back and a contrasting pink cherry blossom tree in the foreground. First I stamped out the gras and tree in gray inks. Then, I added the pink leaves. Next, I created a mask for the tree and adhered it with removable and adjustable adhesive.
For the mountains, I simply tore narrow wedges out of card stock and with a blender brush, I blended gray ink down from the top of the wedges down. I left the bottoms of the mountains lighter, to create a foggy effect behind the tree.
To finish off the card, I stamped “thank you” and heat embossed it on black cardstock. Then, I fussy cut it out and adhered it to the front of the panel with precision glue from Hero Arts.

Card #4 Nifty Fifties Landscape
For my 4th card, I created a retro landscape setup. It feels very 50’s to me. I made a pond out of the zen sand image, (since I didn’t really know it was sand hahaha). Then, with the petals stamp, I laid down some impressionist flower. I turned the same petals stamp into birds in the sky. With Copic markers, I added grass and blue sky. To finish off the card, I stamped a sentiment from the kit and popped up the panel with fun foam onto the front of a card base.

Add-on Cards
Card #5 Just Let it Go Green
To create this green vignette background, I used some light green cardstock and added some lime green ink around the edges, getting lighter as I reached the center. I enjoy how this creates a kind of glow in the center. I stamped and die cut one of the kittens from the Kittens in Kimonos Stamp set. Then, i colored it in with yellow-green and warm gray Copic markers. I colored the border around the image with a black marker and highlighted his whiskers with a white gel pen. Next, I stamped and colored in the lotus flower image with yellow-greens and the sentiment above it. To finish off the card, i stamped the smaller petals image in green above the flower.

Card #6 Just Let it Go Pink
This card follows much the same path as #5, but with the Parasol Pattern Bold Prints stamped in the background and the palette is, of course, pink. The Kitten, clouds and parasol are all colored in with Copic markers. I added some interest to the parasol with the petals stamp and a white gel pen. I colored the borders of the die cuts with a pink Copic marker. Then, I popped them all up on the front of the panel with foam tape. To finish off the card, I heat embossed a sentiment in white on black cardstock, fussy cut it out and adhered it to the front with Precision Glue.

Card #7 Oh My Gato a Tea Party!
To create the background here I simply stamped a piece of red cardstock with red ink using the Waves and Clouds Bold Prints cling stamp. Then, I heat embossed the same stamp image with gold embossing powder on black cardstock and trimmed it down to about 1.5 inches. Next, I adhered that piece to a 1.75 inch piece of black cardstock and glued them both to the front of the card base. Then, I stamped, die cut and colored images from the Kittens in Kimonos stamp set. I stacked them up on some foam tape along the “floor” of the gold embossed cardstock. I finished it all of by fussy cutting a gold-embossed “arigato” and adhering it to the front of the card.

Card #8 Tri-me again, cherry blossoms!
Yummy three panel set up makes its appearance again this hop. I love this sketch — see the tulips I did last month. I used purple tape to mask off the three panels and used the same mountains technique as above to stencil in some mountains for the background. Then, I die cut the Cherry Blossom Fancy Dies out of white cardstock, and colored them in with red-violet and warm gray Copic markers I popped it all up on the front of the card with dimensional adhesive and stamped a sentiment from the main stamp set on the right

Card #9 Happy Belated Chinese New Year
One more for the win!! I stamped and heat-embossed the Flame Dragon on the front of a piece of red cardstock. Then, I created a vignette like in cards 5 & 6 above. Using red Copic markers I added some shading to the dragon. To finish off the card, I added a fussy cut sentiment in black and gold onto the front.

Thanks so much for hanging out with me on a VERY long post. I just couldn’t put the release down—and I still have products calling my name from over on my work space. I can’t wait to make more with them.
Remember to comment below for your chance to win a $50 shopping spree from Hero Arts. You’ll find a grid of supplies below to shop, if you’ve been inspired! Your next stop on the hop is my friend, Jennifer McGuire (aka JMac)