Hey there Arties! I have a new Stamp Club release to announce for Tonic Studios!! This club is not a subscription, but a fun release of stamps and dies with coordinating storage every month!

Giveaway!
One lucky winner will win a £50/$50 Gift card to Tonic Studios and the Snowmies bundle! To enter, comment on every blog in the hop by 11:59pm PST on November 3, 2021 / 7:59am GST on November 4, 2021. Winner will be announced on November 5, 2021 on IG and FB so make sure you're following all of the Tonic Studios social media accounts!

Release Details
Monthly stamp release to be launched on the last Friday of every month (with exceptions made for holidays).
Not a club or subscription based program but a small monthly stamp release.Snowmies stamps and dies will only be sold as a bundle.Limited Stock available.
Available for three months then retired. These products are exclusive to Tonic Studios (not sold elsewhere).
Inspired by Maria Willis. Tonic dies cut well and come precut/separated with no burs! Stamps & dies come in high quality plastic envelopes with a tab for labeling and binder holes on the side. Compatible with A5 ring binders.

Card #1 - Mini Slimline
These links are for shopping inside the USA. If you’re outside the USA, please use the (UK) link.
Steps for Creating Mini Slimline Card & Envelope
First, I ran a full sheet of white cardstock through my Gemini Die Cutting machine. The envelope die will not fit Gemini Jr.
Then, I used one of the coverplate background dies and added it to the front of the envelope by running it through my Gemini, as well.
Next, I added some liquid adhesive to the tabs and sealed up the envelope, leaving the top open.
After that, I added some No Diving Ink to the front of the envelope through the stencil included in the bundle.
Then, I die cut the word Hi out of black cardstock and adhered it to the front of the envelope with liquid adhesive.
For the card, I created a mini slimline card base out of white cardstock. It measured 3.25 x 6.26”.
Next, I created a panel for it using the same coverplate die I used for the envelope and trimming the panel down to 3 x 6”.
Then, I added some No Diving Ink to the front of the panel just like I did with the envelope.
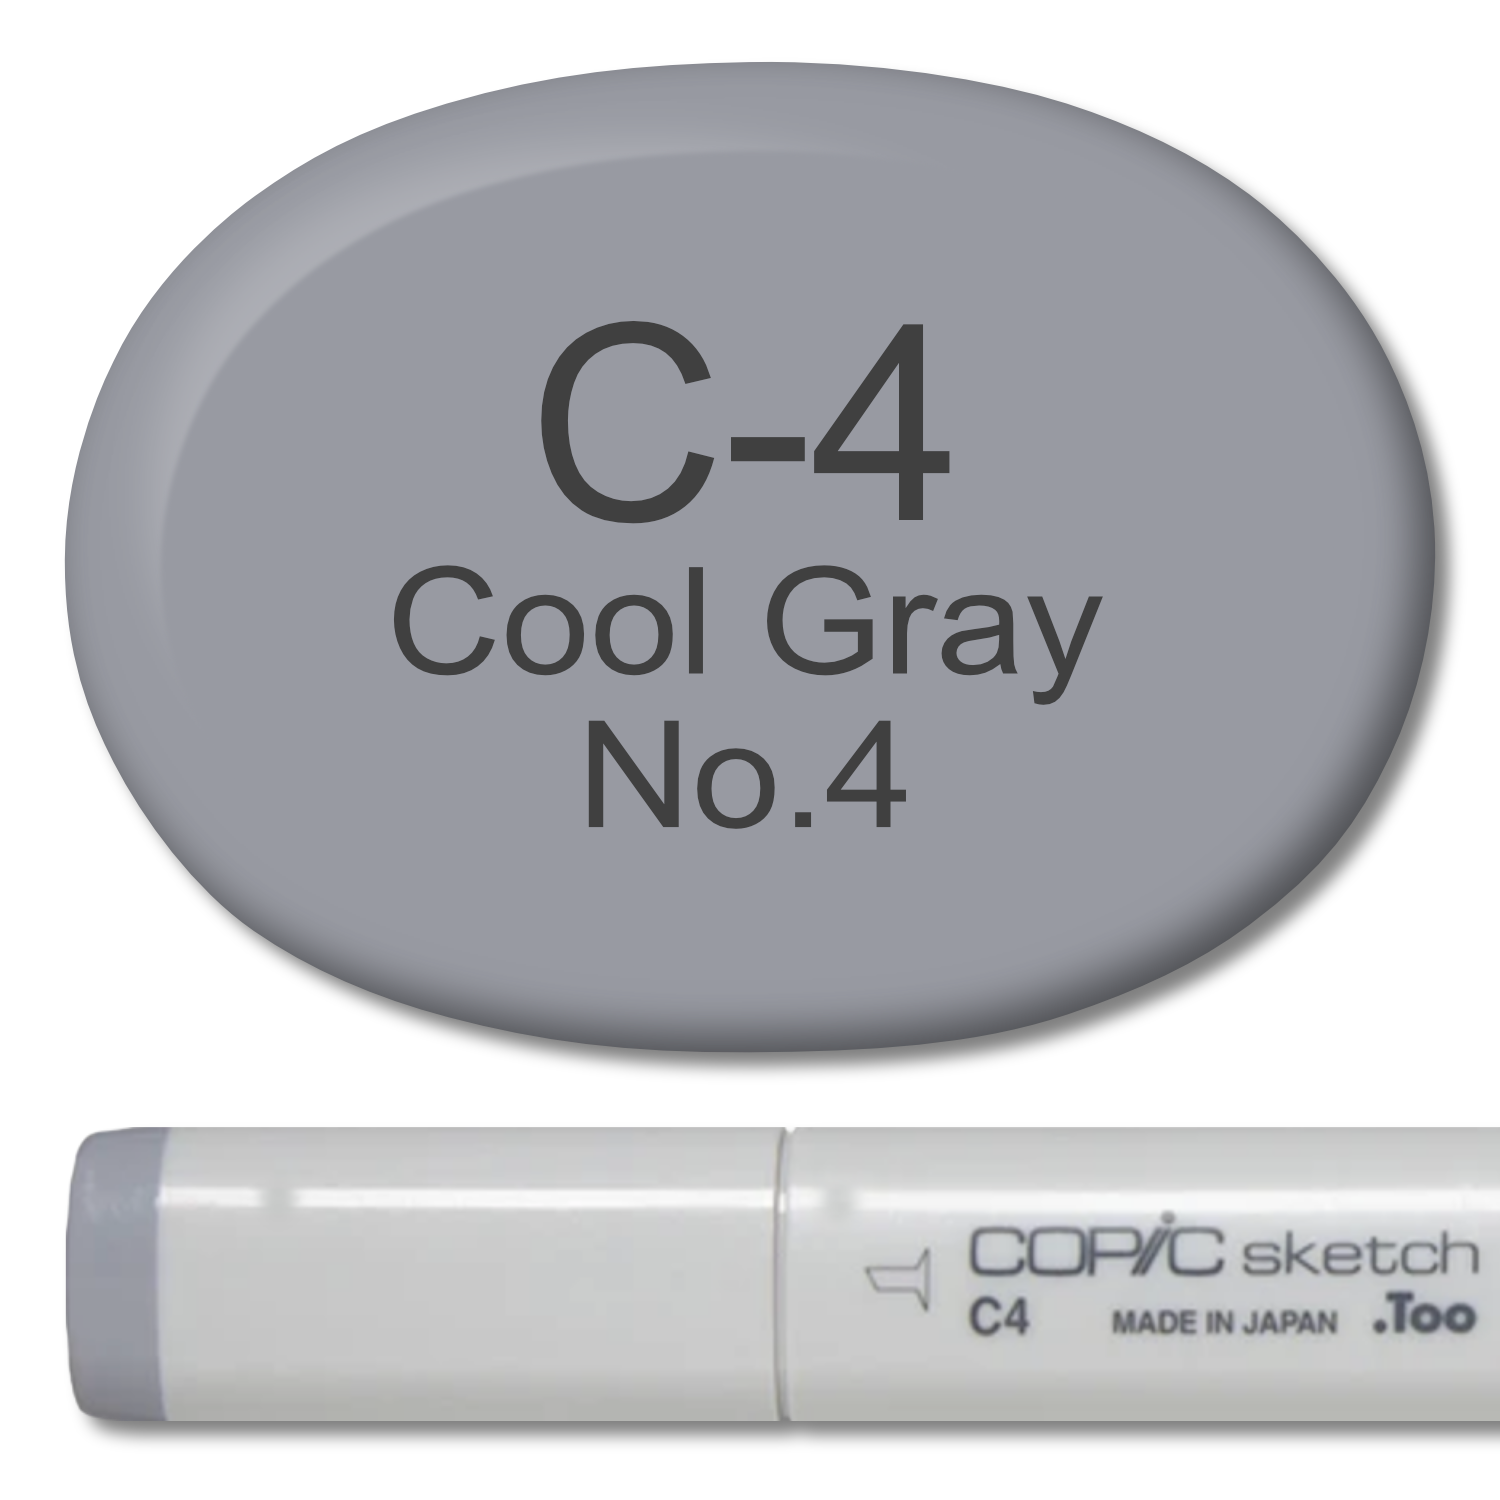
After that, I stamped the sledding image out onto white cardstock with Copic friendly ink and colored it in with YG90’s, Cool Grays and E00’s.
Then, I created a sentiment strip with clear ink, white embossing powder, black cardstock and a the Hey Snowmie stamp from the bundle.
Next, I adhered the panel to the front of the card base with liquid adhesive and popped up the sledding image and sentiment strip with foam tape.
To finish it all off, I added some Rainbow Sequin Mix to the front with liquid adhesive.
Card #2 - Thank You Snow Much
These links are for shopping inside the USA. If you’re outside the USA, please use the (UK) link.
Steps for Creating Card #2
First, I stamped and colored in the trees and snowman family and die cut them out.
Then, I stenciled in some clear embossing ink over the front of an A2 sized card base with a blending brush and melted some Halo Embossing Glitter over it.
Next, I created a two sentiment strips out of one stamp with black cardstock, clear embossing ink and white embossing powder.
After that, I popped up my images with foam tape over the cardbase. The smaller tree I glued down with liquid adhesive.
Finally, I added some shadows to the cardbase with a C4 Copic marker.
Thank you so much for hanging out with me a bit. I hope you enjoyed these projects, too. This kit is super packed full of value and the possibilities are endless!
If you feel inspired to shop, please consider using my affiliate links. I will receive a portion of the purchase price at no additional cost to you!
Have a wonderful weekend!
Daniel
|